What You'll Need:
- Basecoat and Topcoat (I love Orly's Bonder and Won't Chip!)
- Red, White, Silver, Black, Yellow, Nude, and Pink Polishes
- Green Striper
- Glitter Polish
- Dotting Tool/ Bobby Pin
First Step:
Apply a coat of basecoat on all of your nails to protect your nails from staining.
Pinky: Fancy French Tip
Paint the entire nail with two coats of red, and let it dry.
Then, make a vertical line down the center of the nail with the white polish. Make dots at the tip to make fur.
Paint a black line across the nail for Santa's belt. Then, use the yellow to make the belt buckle.
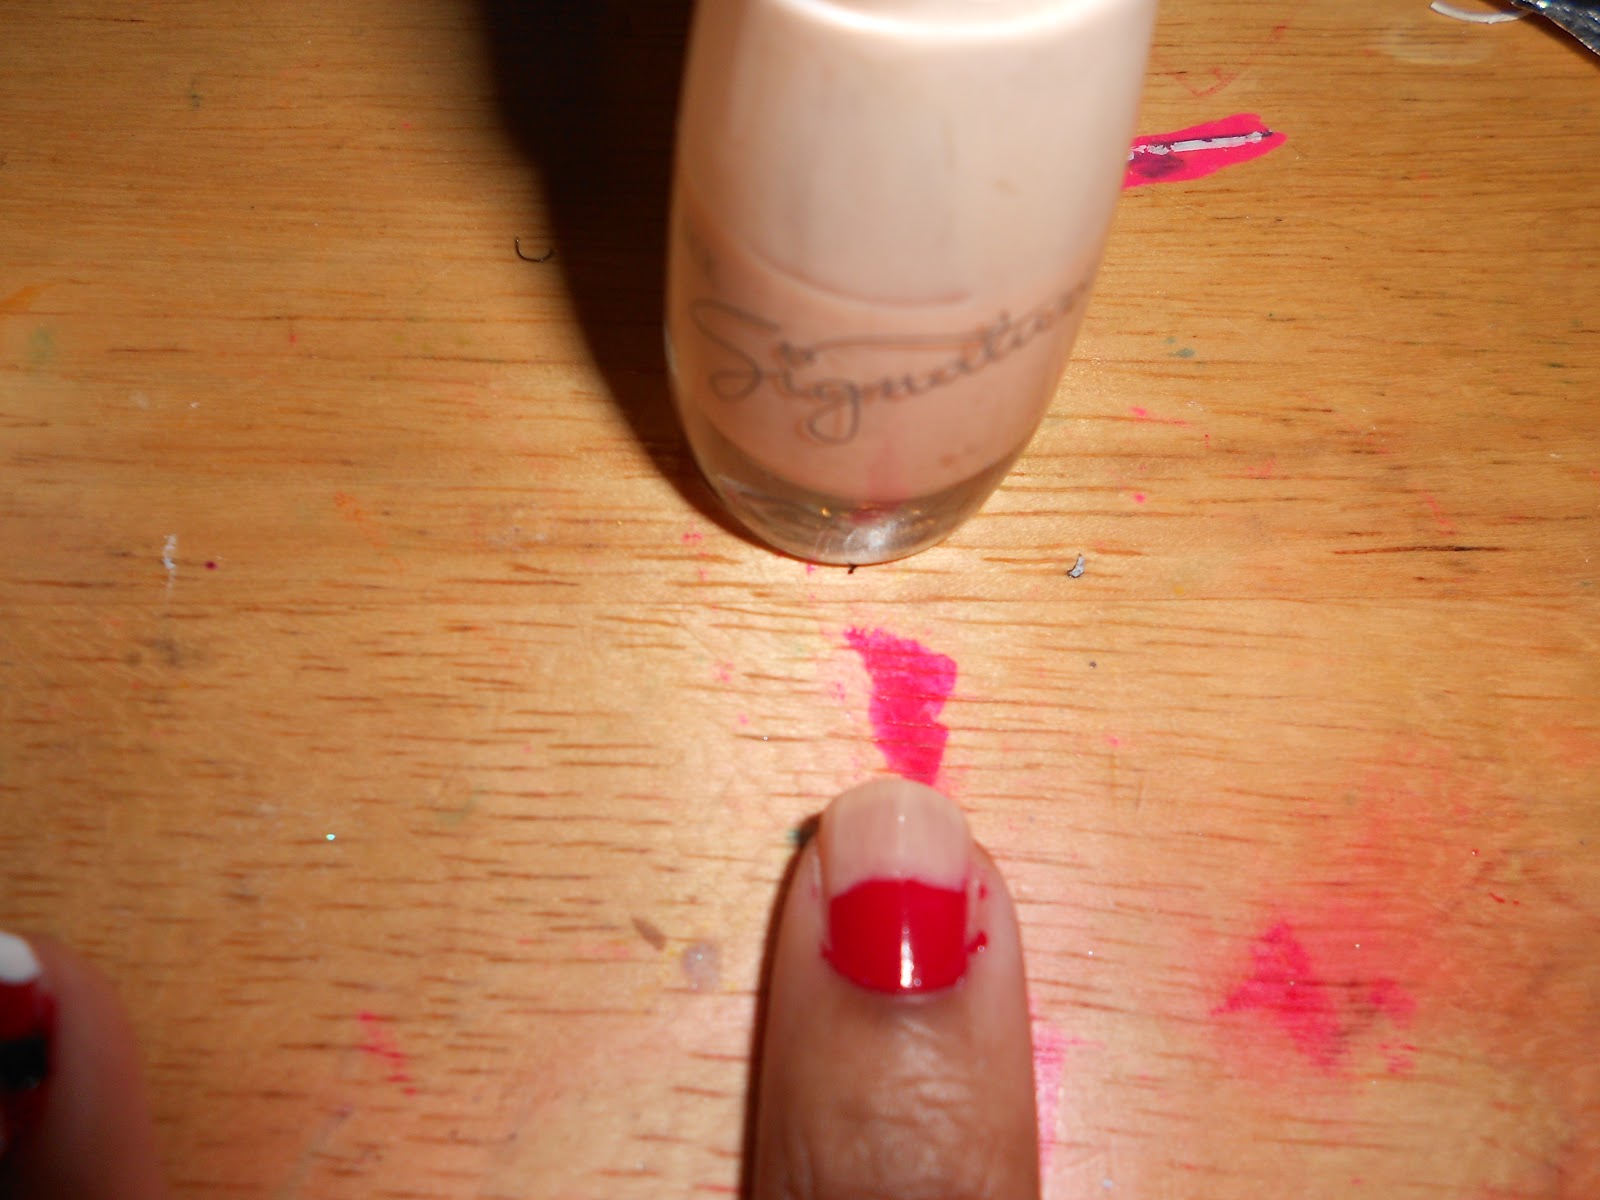
Paint the bottom third of the nail red.
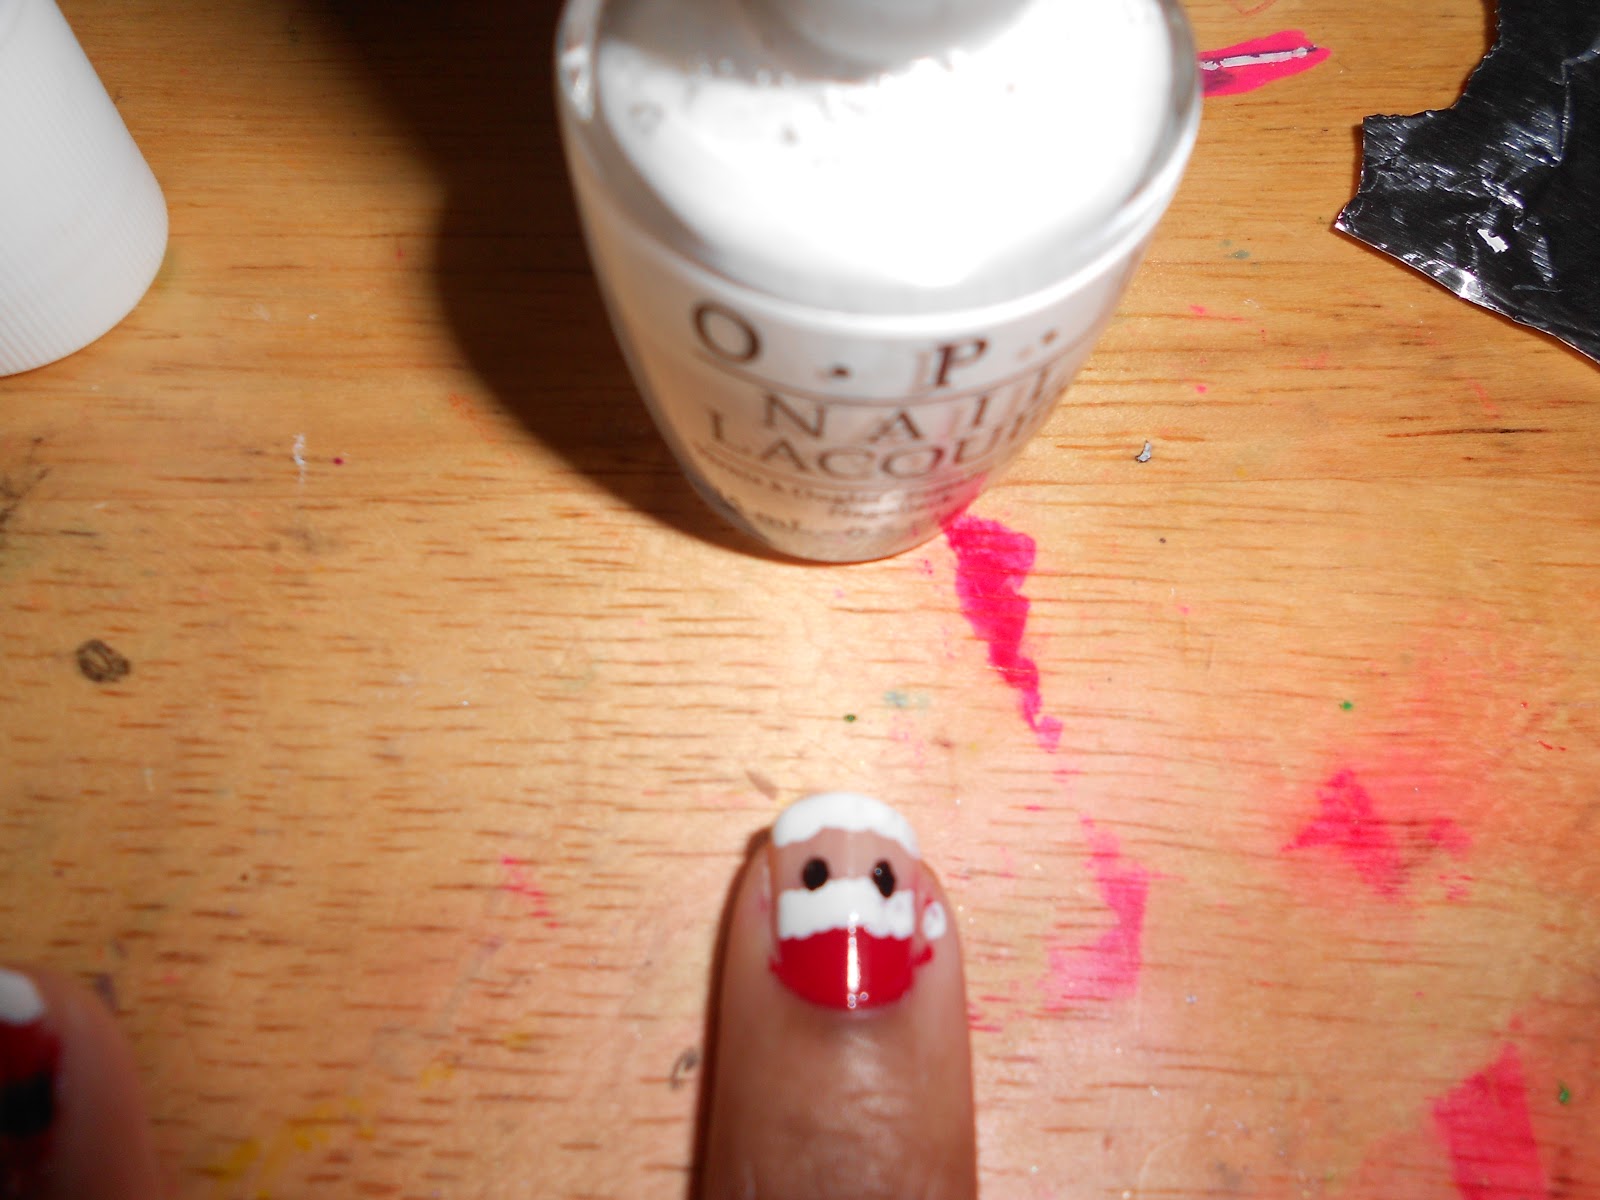
Then, paint up to the tip with the nude polish for Santa's face.
At the tip of the nail, make white dots to form Santa's beard. Then, make two small dots for Santa's eyes, and a pink dot for his nose.
Index Finger: Santa's Hat
Paint a red triangle with the point at the bottom of your nail. Then, make a white dot at the point and more white dots at the tip of the nail to look like the fur on Santa's hat.
Apply two coats of red polish, then let them dry.
Use the green striper to make a triangle with the point at the bottom of your nail.
Then, make a yellow dot at the top of your tree to serve as the star. Finish off the design by adding some glitter to the tree for Christmas lights.
Apply a coat of topcoat to all of your nails to add a nice shine and make your design last longer.
There you have it, a super cute holiday manicure! If the full mani is too much for you, you can always choose just one design, but I think it's perfect. Happy holidays and thanks for reading!
There you have it, a super cute holiday manicure! If the full mani is too much for you, you can always choose just one design, but I think it's perfect. Happy holidays and thanks for reading!
XOXO Kayla


No comments:
Post a Comment