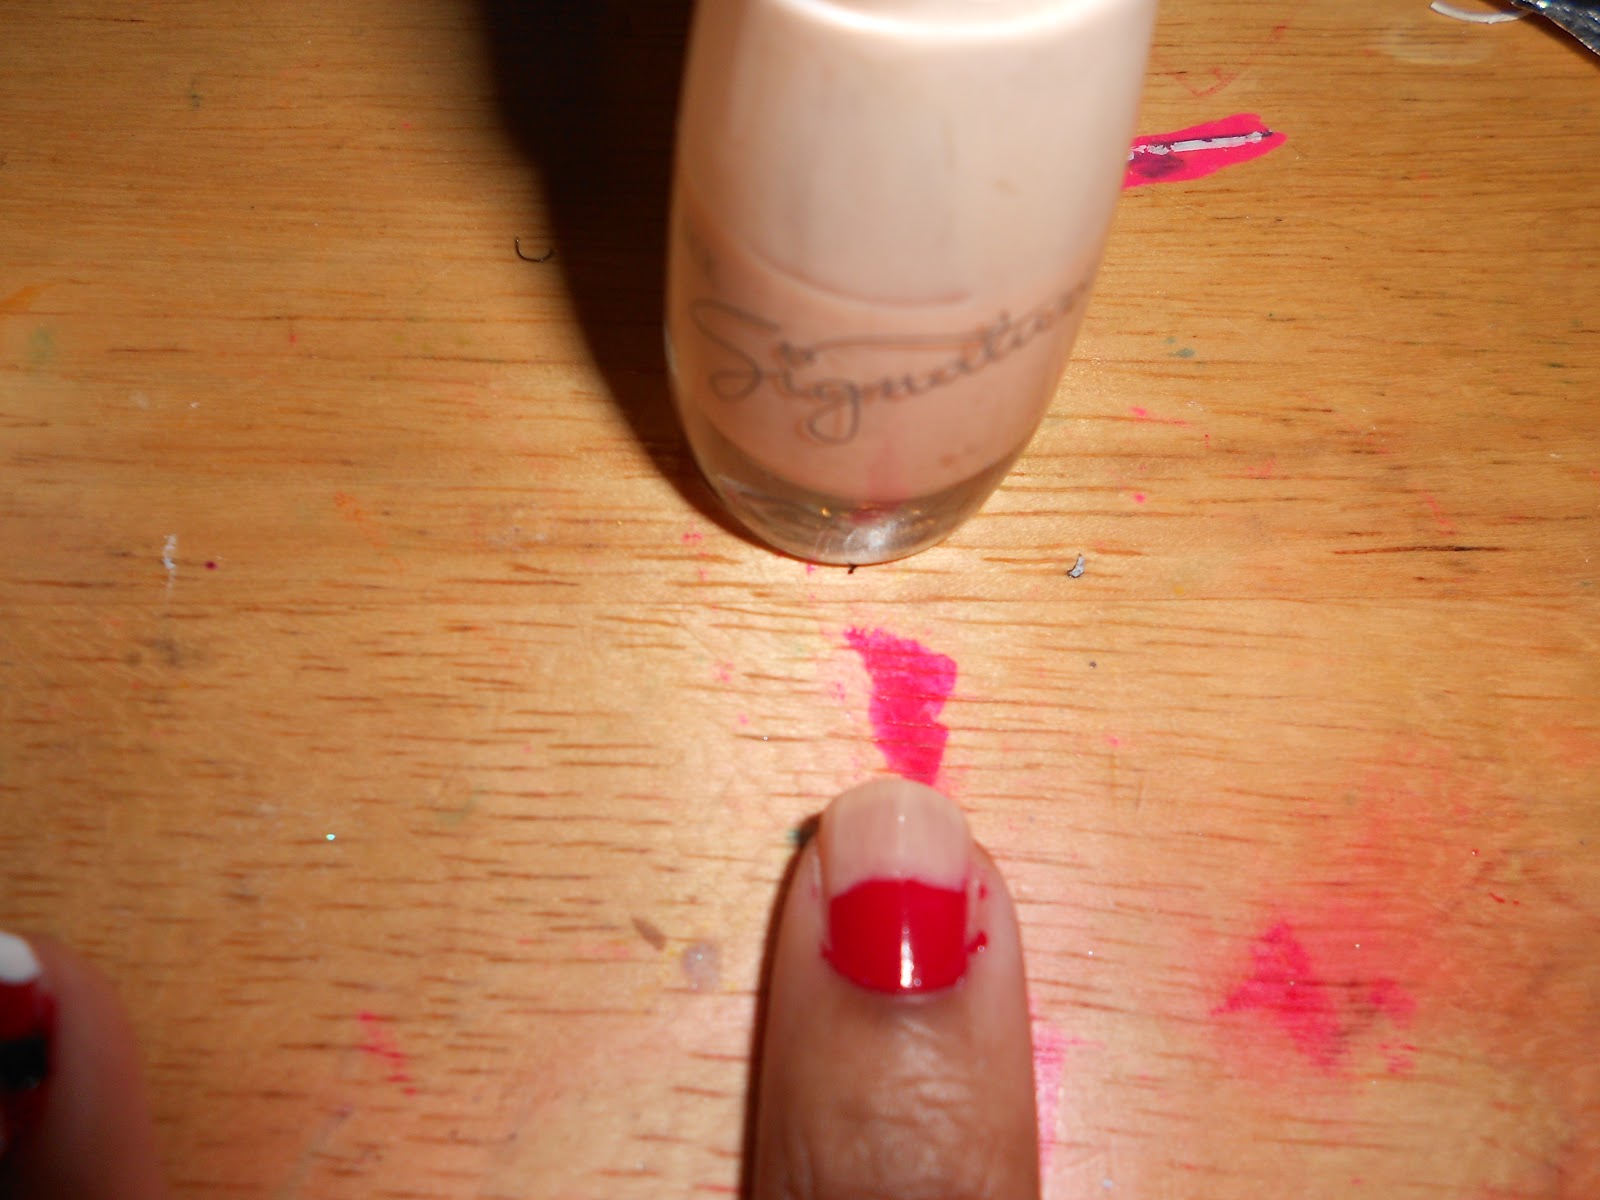
Saturday, February 16, 2013

Nail Tutorial: Vintage Roses and Polka Dots

Hi guys! I know it's been a really long time since my last post but these college applications have been kicking my butt! A few weeks ago, I took a trip to my local Victoria's Secret and bought a super cute water bottle. I loved the pretty pink flowers on the bottle just as much as I loved the pink and white polka dots on the bag they gave me! I realized that I could easily put the prints on my nails, so I decided to try it out. I hope you guys like it!


What You'll Need:
  • Basecoat and Topcoat 
  • Hot pink, light pink, and white polish
  • Green striper
  • 2 Toothpicks
  • Bobby pin
Step One:

Apply basecoat to all of your nails. Then, apply two coats of your base color(s). I'm using white as a base for my pinky, thumb, and middle finger, and hot pink for my ring finger and index finger.

Step Two:

Dip the end of the bobby pin into the white polish and use it to make polka dots on the hot pink nails.

Step Three:

Use the pink polishes to make little blobs on the white nails. They don't have to be perfect circles, because you want your flowers to look more realistic. 

Step Four:

Dip a toothpick into the opposite shade of pink polish than the one your flower is (i.e. use hot pink on light pink or vice versa), and use it to make little squiggly outlines inside of your blobs. This will form the petals, so they don't have to be perfectly neat. Use the other side of the toothpick when the point gets dull for more precision.

Step Five:

Use the green striper to make little thick lines coming out of your flowers for the leaves. Then, apply a coat of topcoat to all of your nails to protect your work and add some shine.


And there you have it, pretty vintage flowers and polka dots! I love this design because it adds a touch of femininity to your look and it's super simple to do. Thanks for reading!
XOXO Kayla

Thursday, January 10, 2013

Nail Tutorial: A Glittery New Years Mani

Was anyone else excited for the new year? I know I was! 2013 means a lot of big things for me: turning 18, graduating from high school, and starting college. To usher in the new year, I decided to do a super easy but still glam manicure. Keep reading if you want to see how my nails welcomed 2013!


What You'll Need:
  • Basecoat and Topcoat 
  • Dark polish for the base color (I'm using OPI Ink)
  • Silver Polish
  • Silver Glitter Polish
Step One:
Apply a coat of basecoat, followed by two coats of your base color. Allow the base color to dry.

Step Two:
Paint a thin silver line at the tip of each nail. This will make the glitter at the tip look more concentrated.

Step Three:
Paint a thicker line of glitter at the tip of the nail. This should cover the silver line, and you can add more glitter if you want. Then, drag  some of the glitter about halfway down the nail. Use more pressure near the tip so the glitter looks like it's dripping down the nail. Finish off with topcoat for a pretty shine.

There you have it, chic glitter fade nails to bring in the new year! I love this mani soo much, and I look forward to the posts I have planned for 2013! Thank you for reading!
XOXO Kayla

Thursday, December 20, 2012

Nail Tutorial: Here Comes Santa Clause!

Christmas is without a doubt my favorite holiday!! In honor of this awesome day, I decided to do a Santa themed manicure. I found a lot of different ideas online when I was getting ready to do this, so I decided to put everything together, and do a different design on each nail. Keep reading if you want to see how I did my festive nails!

What You'll Need:
  • Basecoat and Topcoat (I love Orly's Bonder and Won't Chip!)
  • Red, White, Silver, Black, Yellow, Nude, and Pink Polishes
  • Green Striper
  • Glitter Polish
  • Dotting Tool/ Bobby Pin
First Step:
Apply a coat of basecoat on all of your nails to protect your nails from staining.

Pinky: Fancy French Tip
Use the red polish to do a French tip. Then, use the silver to add a thin line under the red. 

Ring Finger: Santa's Coat
Paint the entire nail with two coats of red, and let it dry.
Then, make a vertical line down the center of the nail with the white polish. Make dots at the tip to make fur.
Paint a black line across the nail for Santa's belt. Then, use the yellow to make the belt buckle.

Middle Finger: Santa!
Paint the bottom third of the nail red.
Then, paint up to the tip with the nude polish for Santa's face.
At the tip of the nail, make white dots to form Santa's beard. Then, make two small dots for Santa's eyes, and a pink dot for his nose.

Index Finger: Santa's Hat
Paint a red triangle with the point at the bottom of your nail. Then, make a white dot at the point  and more white dots at the tip of the nail to look like the fur on Santa's hat.

Thumb: O Christmas Tree!
Apply two coats of red polish, then let them dry.
Use the green striper to make a triangle with the point at the bottom of your nail.
Then, make a yellow dot at the top of your tree to serve as the star. Finish off the design by adding some glitter to the tree for Christmas lights. 

Finishing Touch:
Apply a coat of topcoat to all of your nails to add a nice shine and make your design last longer.

There you have it, a super cute holiday manicure! If the full mani is too much for you, you can always choose just one design, but I think it's perfect. Happy holidays and thanks for reading!
XOXO Kayla

Monday, December 3, 2012

Nail Tutorial: Purple & Glitter with Leopard Print Accent Nails

Thank you to everyone who read my first two posts! I'm new to this blogging thing and it's been hard fitting in blogging with school and college applications. I haven't even done my nails at all since I did them for my galaxy tutorial! I finally found some time this week, so I decided to do purple with glitter and leopard spots for an accent. Keep reading if you want to see my first attempt at leopard print!


What You'll Need:

  • Basecoat and Topcoat (Orly's Bonder and Won't Chip are the best!)
  • Base Color (I'm using Metro Chic by Sephora by OPI)
  • White Polish
  • Black Polish
  • Striper/Bobby Pin/Dotting Tool/Toothpick (any of these will work)
  • Glitter Polish


Step One:

Apply one coat of basecoat to protect your nails. Then, apply two thin coats of your base color.

Step Two:

Paint a coat of glitter (or more if you're a glitter addict like me!) on four of your nails, followed by a coat of topcoat to keep them from chipping and make them more shiny.

Step Three:

Dot the white polish randomly on your accent nail. Be sure to leave some space between each dot. I prefer to do this with the brush from the bottle, because leopard spots aren't naturally uniform.

Step Four:

Use the striper to outline the white dots with C shapes. If you're like me, you'll actually have to try not to make the outlines too neat. The messier they are, the more realistic they look.

Step Five:

Make random small black dots in the spaces between the white dots to make your print look more realistic. If you feel that there is too much empty space, you can add more spots by starting with the outline and applying the white over it. This will also contribute to the messy look. Then, apply a coat of topcoat to protect your design.


There you have it, pretty glittery nails with a leopard accent. I hope you guys like it, and thanks for reading!

XOXO Kayla

Wednesday, November 14, 2012

Tutorial: Galaxy Nails

Galaxy print has been everywhere this year! I've seen it on shorts, leggings, and even sneakers. Since there have been so many pictures of galaxy nails on Tumblr and Instagram, I decided to try them for myself. If you want to see my take on the trend, read on!


What you'll need:
  • 100% Acetone
  • A Makeup Sponge
  • Basecoat and Topcoat (I recommend Orly's Bonder and Won't Chip)
  • Black, Pearl, Pink, Purple, and Blue Polishes
  • Blue and Silver Glitter Topcoats
  • Q-Tips
Step One:

Apply a coat of basecoat to protect your nails from the dark colors. Then, apply two coats of black polish, and allow it to dry.

Step Two:

Sponge on a random shape with the pearl polish. Make sure that you don't cover all of the black, but make your shape big enough to make smaller shapes inside.

Step Three:


Sponge on some pink inside of the pearl, then blue inside of that. This will add more dimension to your galaxy.

Step Four:

Sponge the purple polish on the edges of the nail to add a little something extra to the black. Do this lightly so you don't completely cover up the black polish.

Step Five:


Apply the smaller glitter first. Then, add the bigger glitter on top of it. The glitters will act as your galaxy's stars.

Step Six:

Apply a thin coat of topcoat. This will make your nails shine, and keep your hard work from chipping.

Cleanup:

Dip a q-tip into the acetone, then use it to clean up any polish that gets onto your skin. This way, no one will ever know that you made mistakes!

And there you have it, galaxy nails! I hope you liked my attempt as much as I do. Thanks for reading!
XOXO Kayla